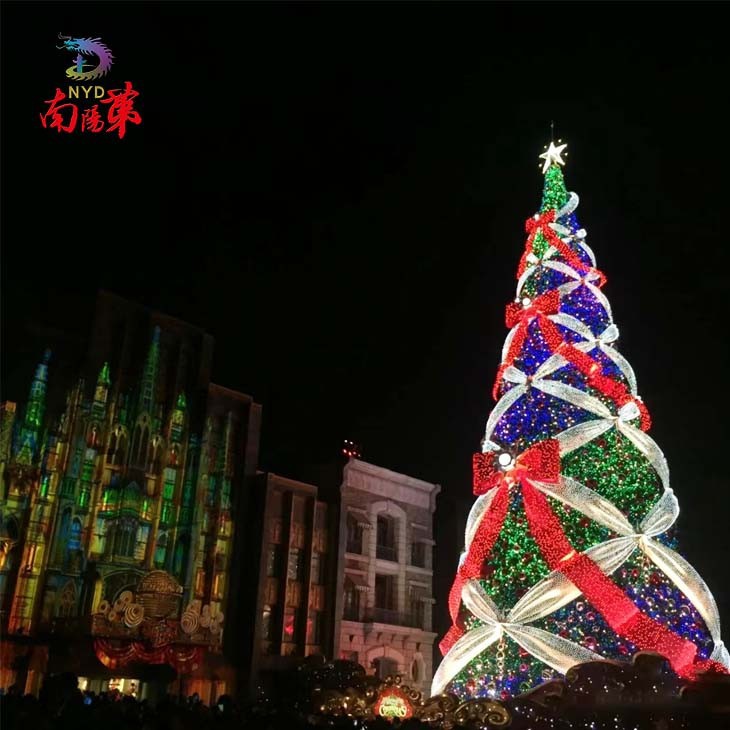
Hey there, Christmas enthusiasts! As a supplier of Lighted Ribbon Christmas Tree, I've seen firsthand the magic these trees can bring to the holiday season. But one question I often get is, "How do I make the ribbons on a Lighted Ribbon Christmas Tree flow better?" Well, you're in luck because I'm here to share some tips and tricks that'll make your tree look like it came straight out of a Christmas wonderland.
Understanding the Basics
First things first, let's talk about what makes the ribbons flow. The flow of the ribbons on your tree depends on a few key factors: the type of ribbon, how you attach it, and the overall design of your tree.
Choosing the Right Ribbon
The type of ribbon you choose can make a huge difference in how it flows on your tree. Opt for ribbons that are lightweight and have a bit of flexibility. Satin, organza, and sheer ribbons are great choices because they're easy to manipulate and create a soft, flowing look. Avoid thick, stiff ribbons as they tend to look bulky and won't drape as nicely.
When selecting the width of the ribbon, consider the size of your tree. For smaller trees, a 1 - 2 inch wide ribbon works well, while larger trees can handle wider ribbons, up to 4 inches or more. You can also mix and match different widths and textures to add visual interest.
Preparing the Tree
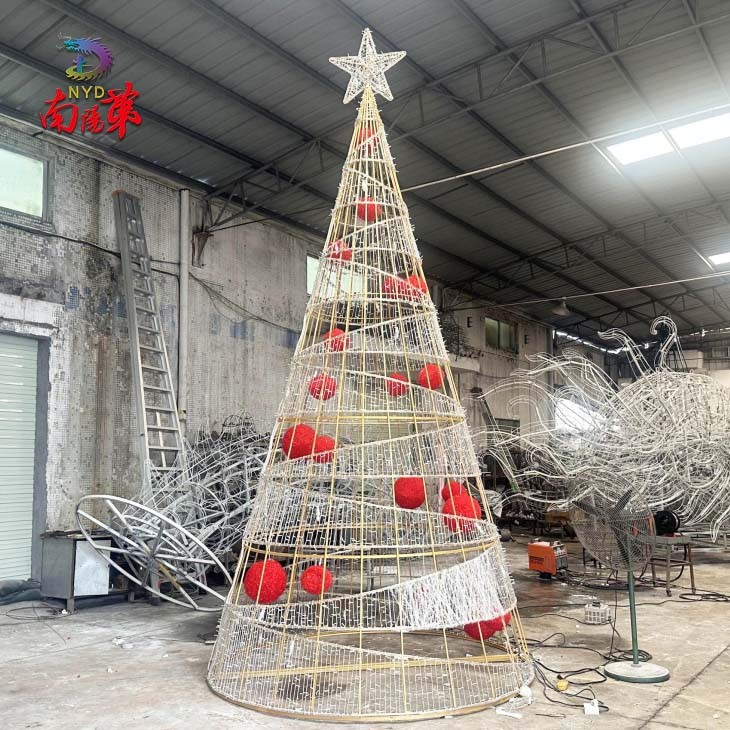
Before you start adding the ribbons, it's important to prepare your tree. Make sure it's fully assembled and the branches are fluffed out. This will give you a solid base to work with and ensure that the ribbons have plenty of space to flow.
If your tree has pre - lit lights, check to make sure they're all working properly. You don't want any dark spots ruining the overall look of your tree. And if you're using additional lights, string them on the tree first before adding the ribbons.
Attaching the Ribbons
Now that you've got your ribbon and your tree ready, it's time to start attaching the ribbons. There are a few different methods you can use, and I'll go over each one.
The Swag Method
The swag method is one of the most popular ways to add ribbons to a Christmas tree. Start at the top of the tree and drape the ribbon over a branch near the center. Let it fall down in a gentle curve, creating a swag. Then, bring the ribbon back up and over another branch, repeating the process all the way down the tree.
To make the swags look more natural, vary the length and width of each one. You can also stagger the swags on different levels of the tree to add depth. Use floral wire or small clips to secure the ribbon to the branches at the points where it touches them. This will prevent the ribbon from slipping off.
The Spiral Method
The spiral method gives your tree a more uniform look. Start at the top of the tree and wind the ribbon around the branches in a spiral motion, working your way down. Make sure to keep the ribbon at a consistent distance from the trunk of the tree for a neat appearance.
As you go, gently push the ribbon into the branches to make it look like it's part of the tree. You can adjust the tightness of the spiral depending on how much ribbon you want to use and how full you want your tree to look.
The Looped Method
The looped method is great for adding a more playful and whimsical touch to your tree. Cut several lengths of ribbon and tie them into loops of different sizes. Then, attach the loops to the branches using floral wire or clips.
You can randomly place the loops all over the tree or group them together to create clusters. This method works especially well with thinner ribbons and can add a lot of movement and texture to your tree.
Adding Movement and Dimension
To make the ribbons flow even better, you can add some movement and dimension to the tree.
Use Multiple Ribbons
Instead of using just one ribbon, try using two or more different ribbons. You can layer them on top of each other or alternate between them as you add them to the tree. This will create a more dynamic and eye - catching look.
For example, you could use a wide satin ribbon as the base and then add a thinner sheer ribbon on top in a contrasting color. The different textures and colors will add depth and make the ribbons appear to flow more freely.
Incorporate Decorations
Adding decorations to the ribbons can also enhance the flow and make the tree look more festive. You can attach small ornaments, beads, or even pinecones to the ribbons using fishing line or small hooks.
Place the decorations at different intervals along the ribbon to create a random, natural look. This will break up the monotony of the ribbon and give it a more interesting appearance.
Maintenance and Adjustments
Once you've added all the ribbons and decorations to your tree, take a step back and look at it from different angles. You may notice that some areas need a little adjustment.
Fixing Sagging Ribbons
If you see any ribbons that are sagging or not flowing properly, gently lift them up and re - position them. You can also add a little extra wire or clip to secure them in place.
Adding More Ribbon
If your tree looks a bit sparse in some areas, don't be afraid to add more ribbon. You can easily cut a new piece and attach it using the same method as before.
Conclusion
Making the ribbons on a Lighted Ribbon Christmas Tree flow better is all about choosing the right materials, using the right techniques, and adding a little creativity. By following these tips, you'll be able to create a beautiful, flowing tree that will be the centerpiece of your holiday decor.
If you're interested in purchasing a Lighted Ribbon Christmas Tree or Large Decorated Led Christmas Trees, we're here to help. Whether you're a retailer looking to stock up for the holiday season or an individual wanting to add some extra sparkle to your home, we've got a wide range of options to choose from. Feel free to reach out to us for more information and to start a procurement discussion.
References
- Christmas Tree Decorating Guides from various home decor magazines
- Personal experience as a Lighted Ribbon Christmas Tree supplier